
The 5 Levels of Process Mapping: Your Guide to Business Optimization (with examples)
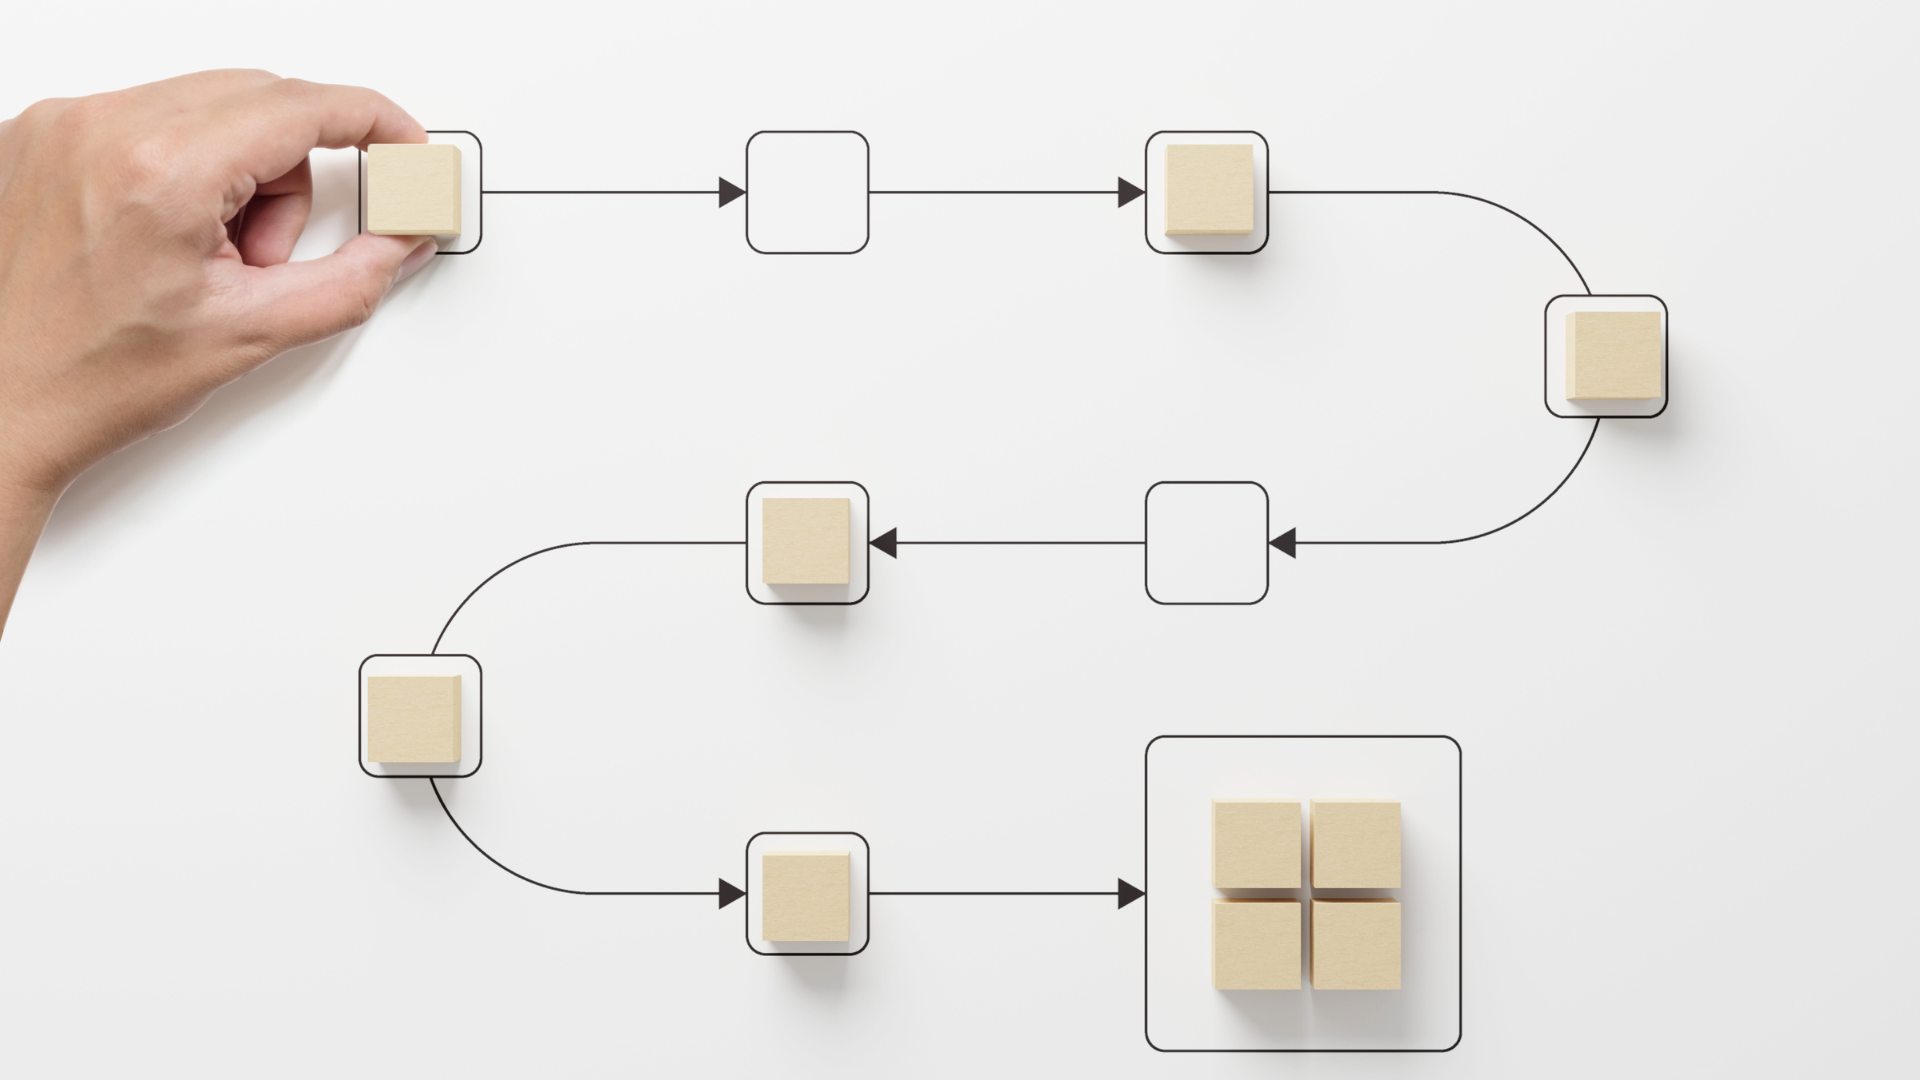
To achieve efficiency and success in your business you need to understand and optimize your processes. From my experience, one of the most effective (and easy to use) tools for doing this is through business process mapping. With process mapping you’re able to visualize the steps involved in a certain process. This allows you to identify areas for improvement and streamline your operations.
By creating a high level process map, you’re able to visualize the end-to-end steps involved in a specific value stream. This clarity allows you to identify bottlenecks, eliminate redundancies, and streamline your operations.
Let’s dive in 🚀
Level 0: High-Level Process Map
The first level is the high-level flowchart of a process. It’s the bird's-eye view of your process and it shows you the start and end points of a process. It also includes the main steps involved to complete it as well as the sequence of those steps. Think of it as a roadmap that guides you from point A to point B without detailed steps. This is a great starting point for you to quickly understand and communicate a process to your team without getting lost in the details.
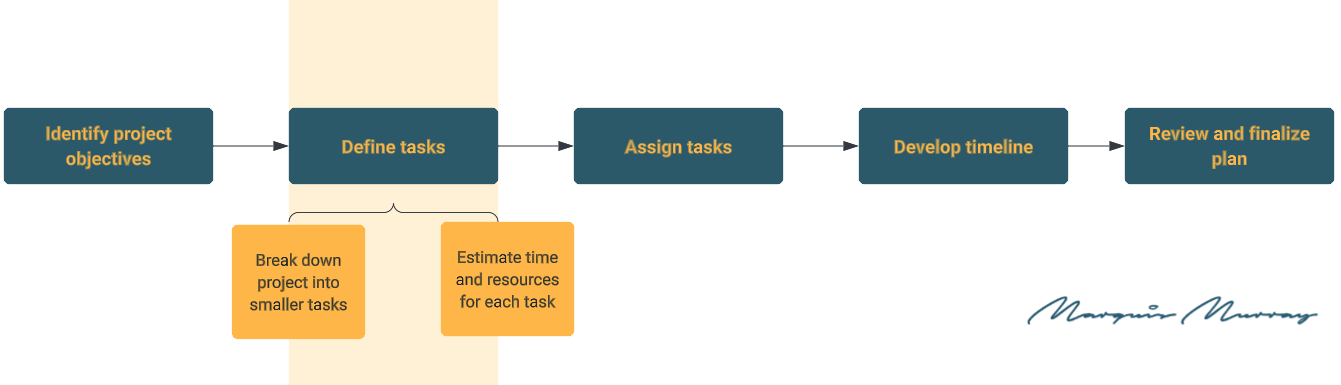
For example, a high-level process map for “developing a project plan” might include the following steps:
Identify project objectives
Define tasks
Assign tasks
Develop timeline
Review and finalize plan


Level 1: Detailed Process Map
The next level of process mapping is the detailed process map. This goes a step further than the high-level process map and provides more information about each step in the process. This might include who is responsible for each step, what inputs and outputs are involved, and any decision points.
If we take the example of developing a project plan process, we’ll be adding more detail to each step:
Identify project objectives
Meet with stakeholders
Define project scope
Define tasks
Break down project into smaller tasks
Estimate time and resources for each task
Assign tasks
Identify team members' skills and availability
Assign tasks based on skills and availability
Develop timeline
Sequence tasks based on dependencies
Develop initial project schedule
Review and finalize plan
Review plan with stakeholders
Make adjustments as needed
Finalize and distribute plan
Level 2: Deployment Flowchart/Swimlane Diagram
The third level of process mapping is the deployment flowchart or most commonly known as a swimlane diagram. This type of process map includes information about the roles or departments involved in each step of the process. As you see in the example below, each "lane" in the diagram represents a different role or department to show who does what and when. This is a great way to understand how tasks are distributed across your organization and where there might be opportunities for process optimization.
For the “ developing a project plan” example, these are the two lanes and steps involved in each lane:
Project Manager: Identify project objectives, Define tasks, Develop timeline, Review and finalize plan
Project Team: Assign tasks

Level 3: Detailed Flowchart
The fourth level of process mapping is the detailed flowchart. This level provides a very detailed view of the process which includes: all steps, decision points, inputs, outputs, and any rules or conditions that apply. You can use this level for detailed analysis and to start with process improvement efforts.
For our project plan example, this is how we would bullet-point these details and draw the flowchart:
Identify project objectives
Input: Project proposal
Output: Defined project objectives
Decision point: Are objectives clear and measurable?
Define tasks
Input: Defined project objectives
Output: List of tasks
Assign tasks
Input: List of tasks, Team members' skills and availability
Output: Task assignments
Develop timeline
Input: Task assignments
Decision point: Is the schedule realistic?
Review and finalize plan
Output: Final project plan

Level 4: Work Instructions (SOPs)
Finally, we reach the fifth and most detailed level of process mapping which is work instructions, also known as Standard Operating Procedures (SOPs).
While a high-level process map defines the sequence of events, SOPs provide the specific technical requirements and step-by-step actions needed to execute routine operations.
These documents function as your organization’s knowledge base, translating abstract goals into repeatable workflows. Formalize these how-to guides to ensure key information is not siloed. That’s also one way any team member can follow the process and produce the same high-quality result every time, making your business much easier to scale.
Here’s how the step-by-step instructions for the “develop project plan” process might look like (bearing in mind that this is a very simplified version of SOPs):
Identify project objectives
Schedule a meeting with stakeholders
Discuss project proposal
Define project scope
Write down project objectives
Check that objectives are clear and measurable
Define tasks
Break down project into smaller tasks
Estimate time and resources for each task
Write down tasks and estimates
Check that all tasks are necessary and feasible
Assign tasks
Identify team members' skills and availability
Assign tasks based on skills and availability
Write down task assignments
Check that all tasks are assigned
Develop timeline
Sequence tasks based on dependencies
Develop initial project schedule
Write down schedule
Check that the schedule is realistic
Review and finalize plan
Review plan with stakeholders
Make adjustments as needed
Finalize and distribute plan
Check that the plan is acceptable to all stakeholders
Whether you're looking at the big picture with a high-level process map or diving into the details with work instructions, each level of process mapping has its own benefits and uses. It’s always good to remember that the level of detail you choose for your process map should depend on your goals and the needs of your audience. A high-level process map might be sufficient for some purposes but in other cases a more detailed map might be needed.
The goal of visualizing your workflows, from a high-level overview to a detailed sub-process, is continuous improvement through process optimization. When you clearly define how work moves through your organization, you eliminate bottlenecks and build a more scalable, successful business.
If you’re looking to start your journey into process optimization, don’t hesitate to reach out to me or book a time in my calendar.
Let’s sit down to address your specific goals and challenges. Together, we can build a more efficient system that helps your business grow.
